
The Process of Illustrating a Self-Published Children's Book
First-time authors often ask me this:
- "What are the steps to illustrate, design, print, and self-publish a children's book?"
- "How do I go from a finished manuscript to a published children's book?"
- "Can you walk me through the step-by-step process of art direction and illustration for children's books?"
- "How do I self-publish a children's picture book from start to finish?"
A quick search will tell you the fundamentals, and you've probably already seen them:
A great children’s book starts with a clear plan. Before illustrations begin, lock down the fundamentals by finalizing the manuscript and building the framework:
- Finish the story: edit until every word earns its place.
- Choose the format: decide the trim size, page count, and book type.
- Map the reading experience: break the story into page turns and spreads.
- Plan the visual narrative: identify key scenes, characters, and moments that need illustration.
- Create creative direction: gather references, define character traits, and establish the visual tone.
This stage creates the blueprint for everything that follows: illustration, design, production, and printing. But how can you confidently trust the process that you're not fully familiar with, and how does that process really look in practice?
1st STAGE: MANUSCRIPT FINALIZATION AND BOOK LAYOUT
- Story manuscript: Ensure the manuscript is fully edited and finalized, and make sure the word count fits the target audience. When the manuscript is ready, the art direction process starts and requires defining:
- Book size: Deciding on the book's dimensions (e.g., 8.5” x 11”) based on the target audience.
• Board book: typically 6" × 6" or 7" × 7", 16-24 thick board pages, full-color interior, designed for ages 0-3.
• Picture book: typically 8" × 10" or 8.5" × 11", 32-40 pages, full-color interior.
• Early reader: typically 6" × 9", 48-64 pages, larger type, spot illustrations or simple color.
• Middle grade: typically 5.5" × 8.5", 150-300 pages, black-and-white interior, chapter format.
• Young adult (YA): typically 5.5" × 8.5" or 6" × 9", 250-450 pages, black-and-white interior, paperback or hardcover. - Final page count: By confirming the total number of pages, including front and back covers, end pages, copyright and title pages, we're ready to start working on the book layout. Sometimes, we'd make a few layouts to see which one best tells the story.
- Pagination and sluglines: Breaking the manuscript into page-by-page segments (spreads), establishing where text will appear throughout the book and providing a framework for illustration planning and narrative flow.
- Illustration and character briefs: Before sketching, it's important to write a draft of key scenes, character briefs, and visual/literary references drawn from relevant books, films, and animation for inspiration. The number and types of illustrations begin to evolve from here.
- Offset printing or print-on-demand: The printing method should be decided early because it affects technical formatting and production preparation.
2nd STAGE: SKETCHING THE STORYBOARD LAYOUT & DESIGNING CHARACTERS
Sketching begins once the layout is locked. This is where we explore the visual storytelling by exploring the scenes, testing spreads, and finding the strongest narrative flow. Clear art direction starts with seeing the book structure early, and it helps us make key decisions upfront to prevent costly changes later in the illustration process.
- Updating the layout with storyboard thumbnails: sketching small, rough thumbnails of each spread to plan the flow of text and illustrations. Instead of reviewing them individually, it’s more effective to analyze the book’s dynamics by placing all sketches into a basic page layout, with text boxes and illustration placeholders to see how the story works as a whole.
- Character Design: The manuscript offers basic character details, while additional bios, created specifically for the illustrator, help ensure unique designs that reflect personality. Character design happens in three stages, with outfit colors potentially adjusted later in the book development process.
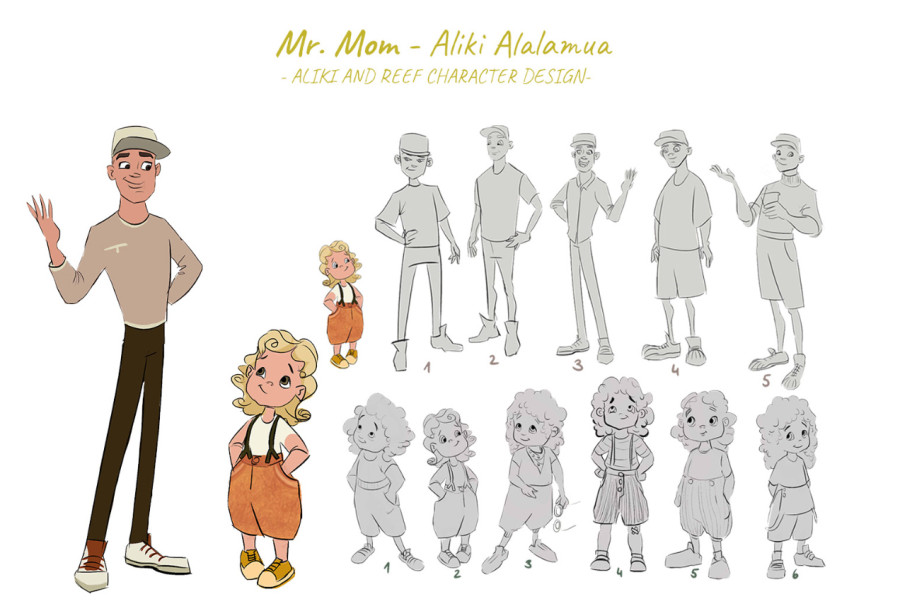
Character development
3rd STAGE: BOOK DUMMY
With finalized sketches approved, we move into creating a printed mock-up. Once the manuscript, pagination, and illustration plan are finalized, I print and assemble a small dummy book so we can review it page by page during a live call. Seeing our book in physical form is the first real test, it immediately reveals how the story breathes across pages and how much space the text needs. This stage becomes a critical checkpoint for flow, rhythm, and page turns, confirming whether the structure holds or needs adjustment before final development.
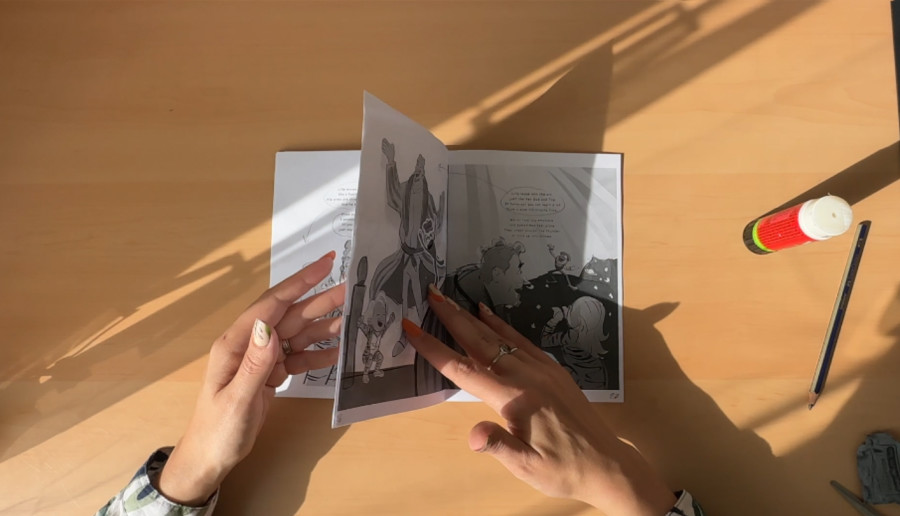
A dummy book is a visual draft that tests and guides the illustration process
4th STAGE: COLOR KEYS
You’ve probably figured out by now that I like to define everything in advance and establish a clear sense of direction early on. At this stage, once all illustration sketches are approved, it’s time to define the tone of the book. Small, loose color studies are used to establish the color palette, lighting, and mood of each scene or spread.
5th STAGE: INTERIOR AND COVER ILLUSTRATIONS AND DESIGN
If we’ve moved through each stage with intention, there are no surprises here, and that’s exactly the point. I care about being effective and thorough, because it creates space for what really matters: enjoying the creative process. It frees me up to focus fully on painting and details.
So, with characters, sketches and colour keys approved, we move into final illustration. This is where all interior artwork is rendered at full resolution. The cover may be a new piece or adapted from an interior illustration. Typically, cover design comes last, once the book’s tone and visual language are fully defined.
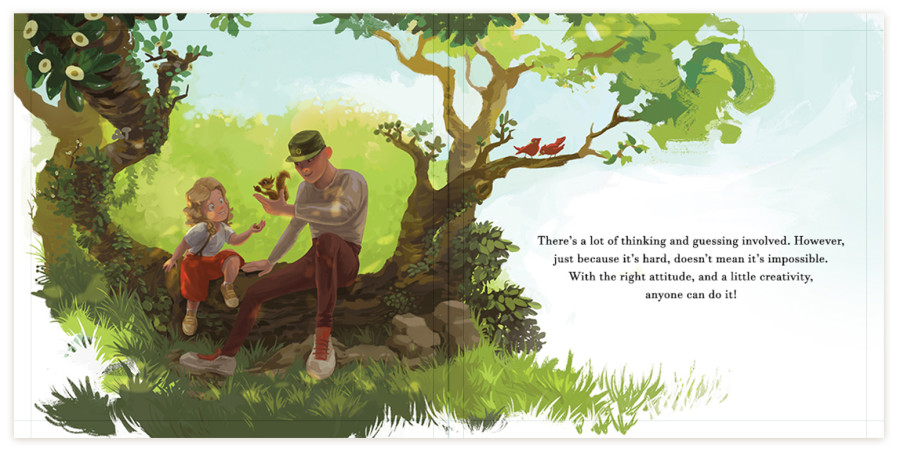
Finalized illustration with integrated text and margins for orientation
6th STAGE: BOOK FORMATTING AND PREPARATION FOR PRINTING
When all illustrations, including the cover and end pages, are approved, we move on to the remaining steps toward publishing. From here on, the book designer takes over, and the next steps look like this:
- Selecting the final font
- Integrating illustrations and text, front and back cover with blurb and barcode, copyright page text, biographies, and dedication
- Proofreading and quality review
- Implementing feedback and final revisions
- Final layout approval
- Pre-press preparation (color profiles, bleed, trim, file export)
- Printer communication and file handoff (includes specifications, dielines, barcode placement, and paper/print preferences)
- Printing the sample approval before the full run
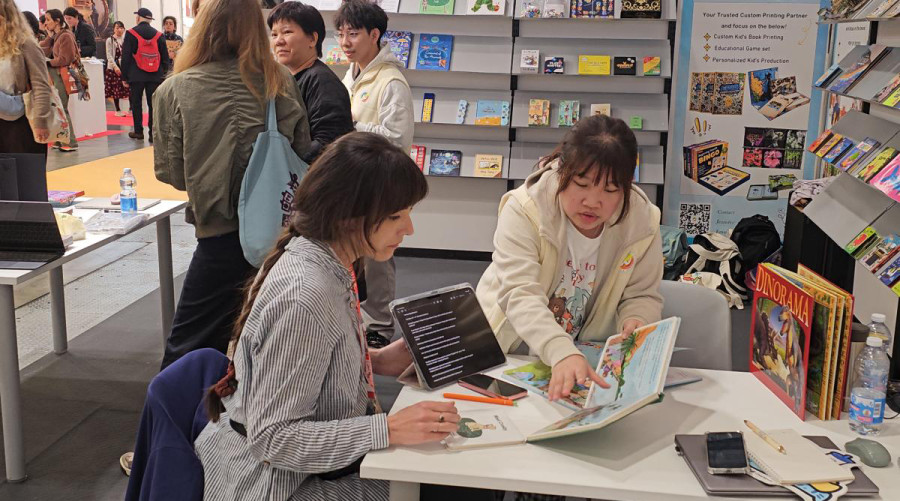
Kristina meeting with the printing company for an upcoming book at the Bologna Children's Book Fair 2026
And this is how the process from a finished manuscript to publishing looks! I hope this brings a bit of clarity :)
Every illustrator has a unique workflow, so I suggest trying to adapt to the effective process as much as possible. From my experience, defining the steps upfront keeps everything smooth, focused, and on time.
So, when you automate as much as you can, you'll get space for creativity in return - that’s what really matters. <3
Hugs,
Kristina