
Mastering Light in Art: A Step-by-Step Light Study

Light is what brings art to life, transforming flat shapes into vibrant, three-dimensional forms. In this quick light study, I focused on understanding how light interacts with objects and their surroundings. Here’s a breakdown of the steps I followed:
1. Shapes
The foundation of any study begins with the basics—shapes. I blocked out simple forms to define the composition and proportions. This step ensures a strong structure before diving into the details.

2. Diffuse Light
Next, I introduced diffuse light. This represents soft, even lighting that wraps around the objects, giving them their base illumination. It sets the stage for depth and form.

3. Bounced Light
Bounced light is subtle but powerful. It reflects off nearby surfaces, softly illuminating the shadowed areas. Adding this step brings harmony and realism to the scene.

4. Ambient Occlusion
To ground the objects, I incorporated ambient occlusion—darkening the areas where objects meet or where light struggles to reach. This enhances the sense of weight and depth.

5. Specular Highlights
Specular highlights are the sparkle in the study! These bright spots reflect the light source and give objects a polished, dynamic appearance. It's a small touch that adds a big impact.

6. Reflections
Reflections are all about context. They show how objects interact with their environment, subtly mirroring surfaces and surrounding colors to create cohesion.

7. Subsurface Scattering
Finally, I explored subsurface scattering, especially for the grapes. This effect captures how light penetrates translucent objects, scatters within, and exits, creating a soft glow that feels almost alive.
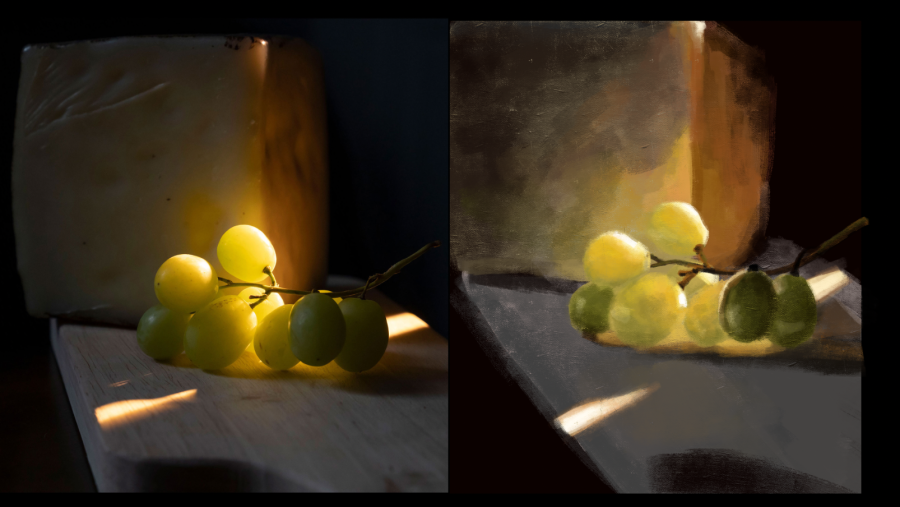
This light study was a fun way to explore how light interacts with translucent objects. Breaking it into steps made the process easier to understand and apply. Each layer added more depth and life to the piece!